

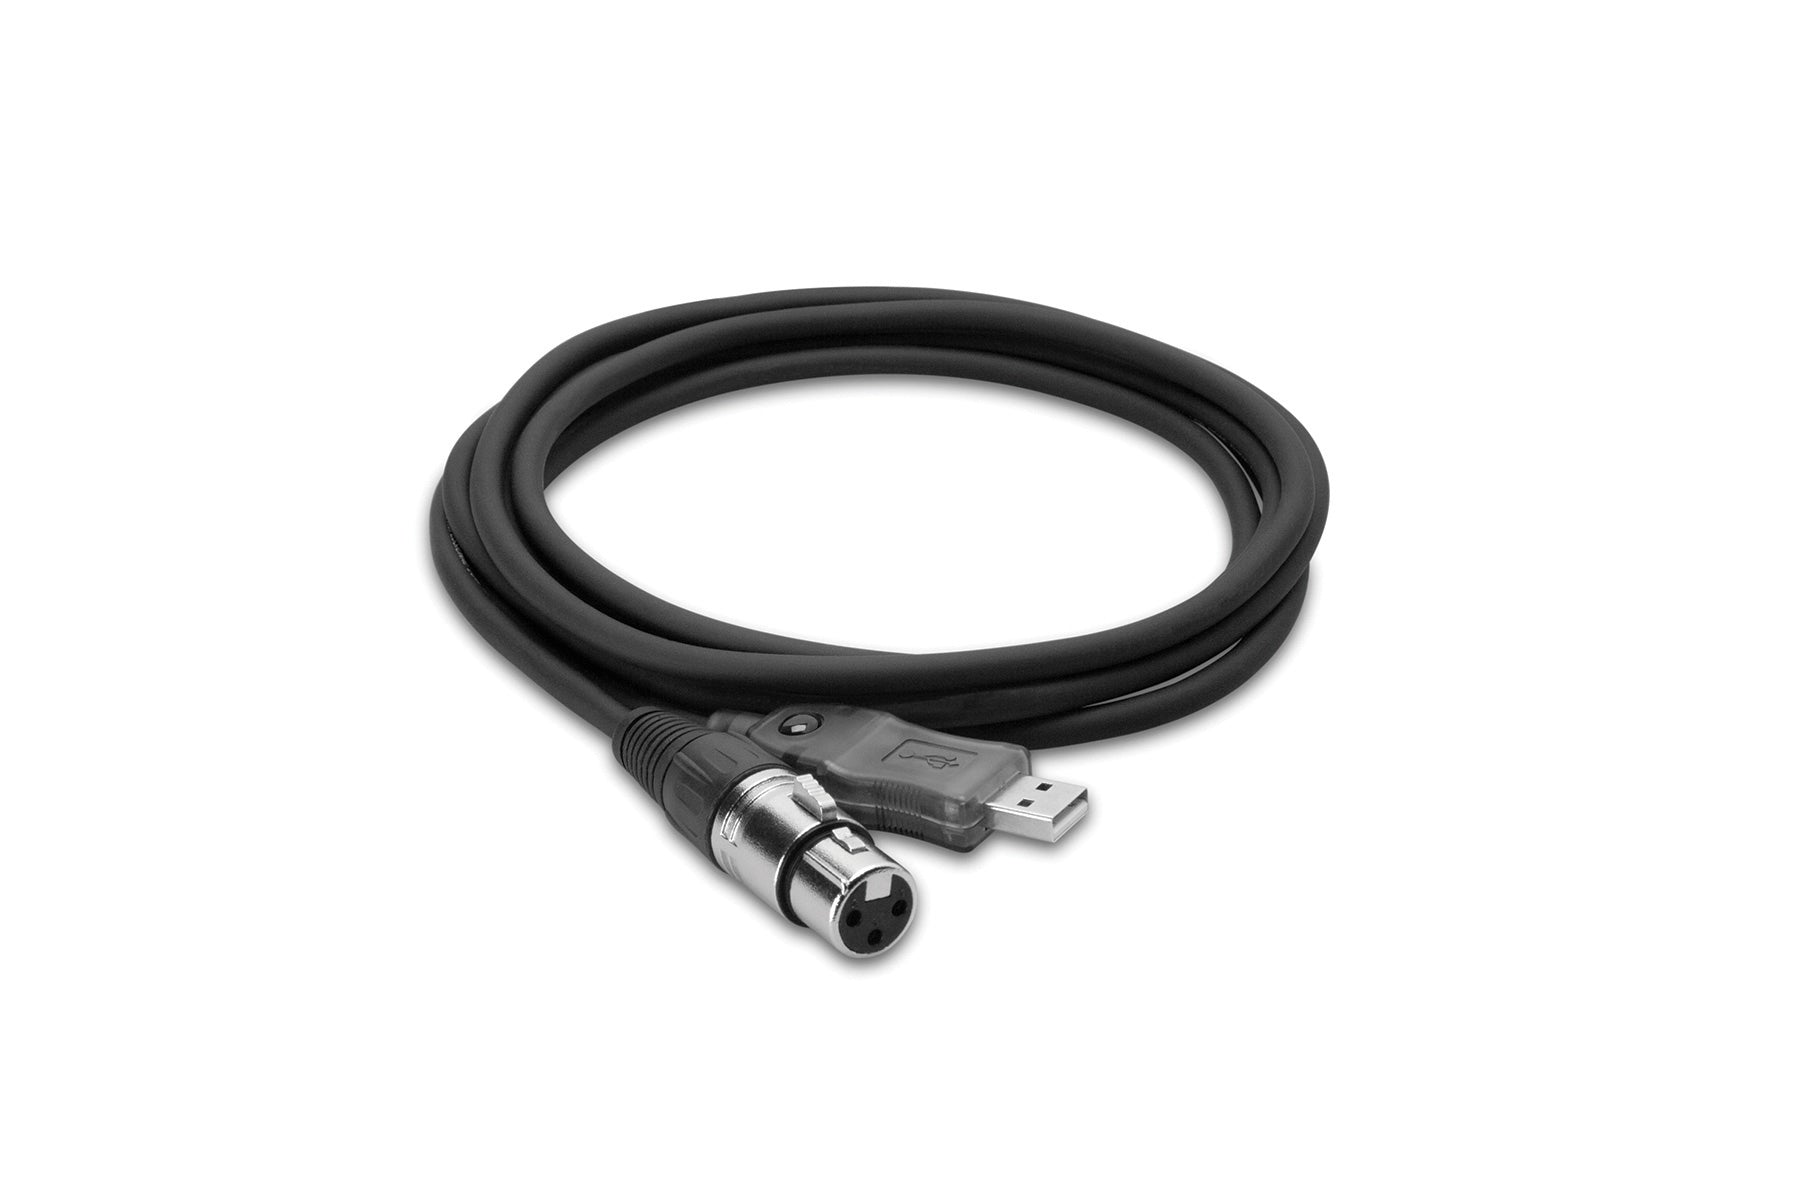

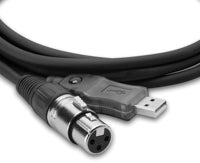

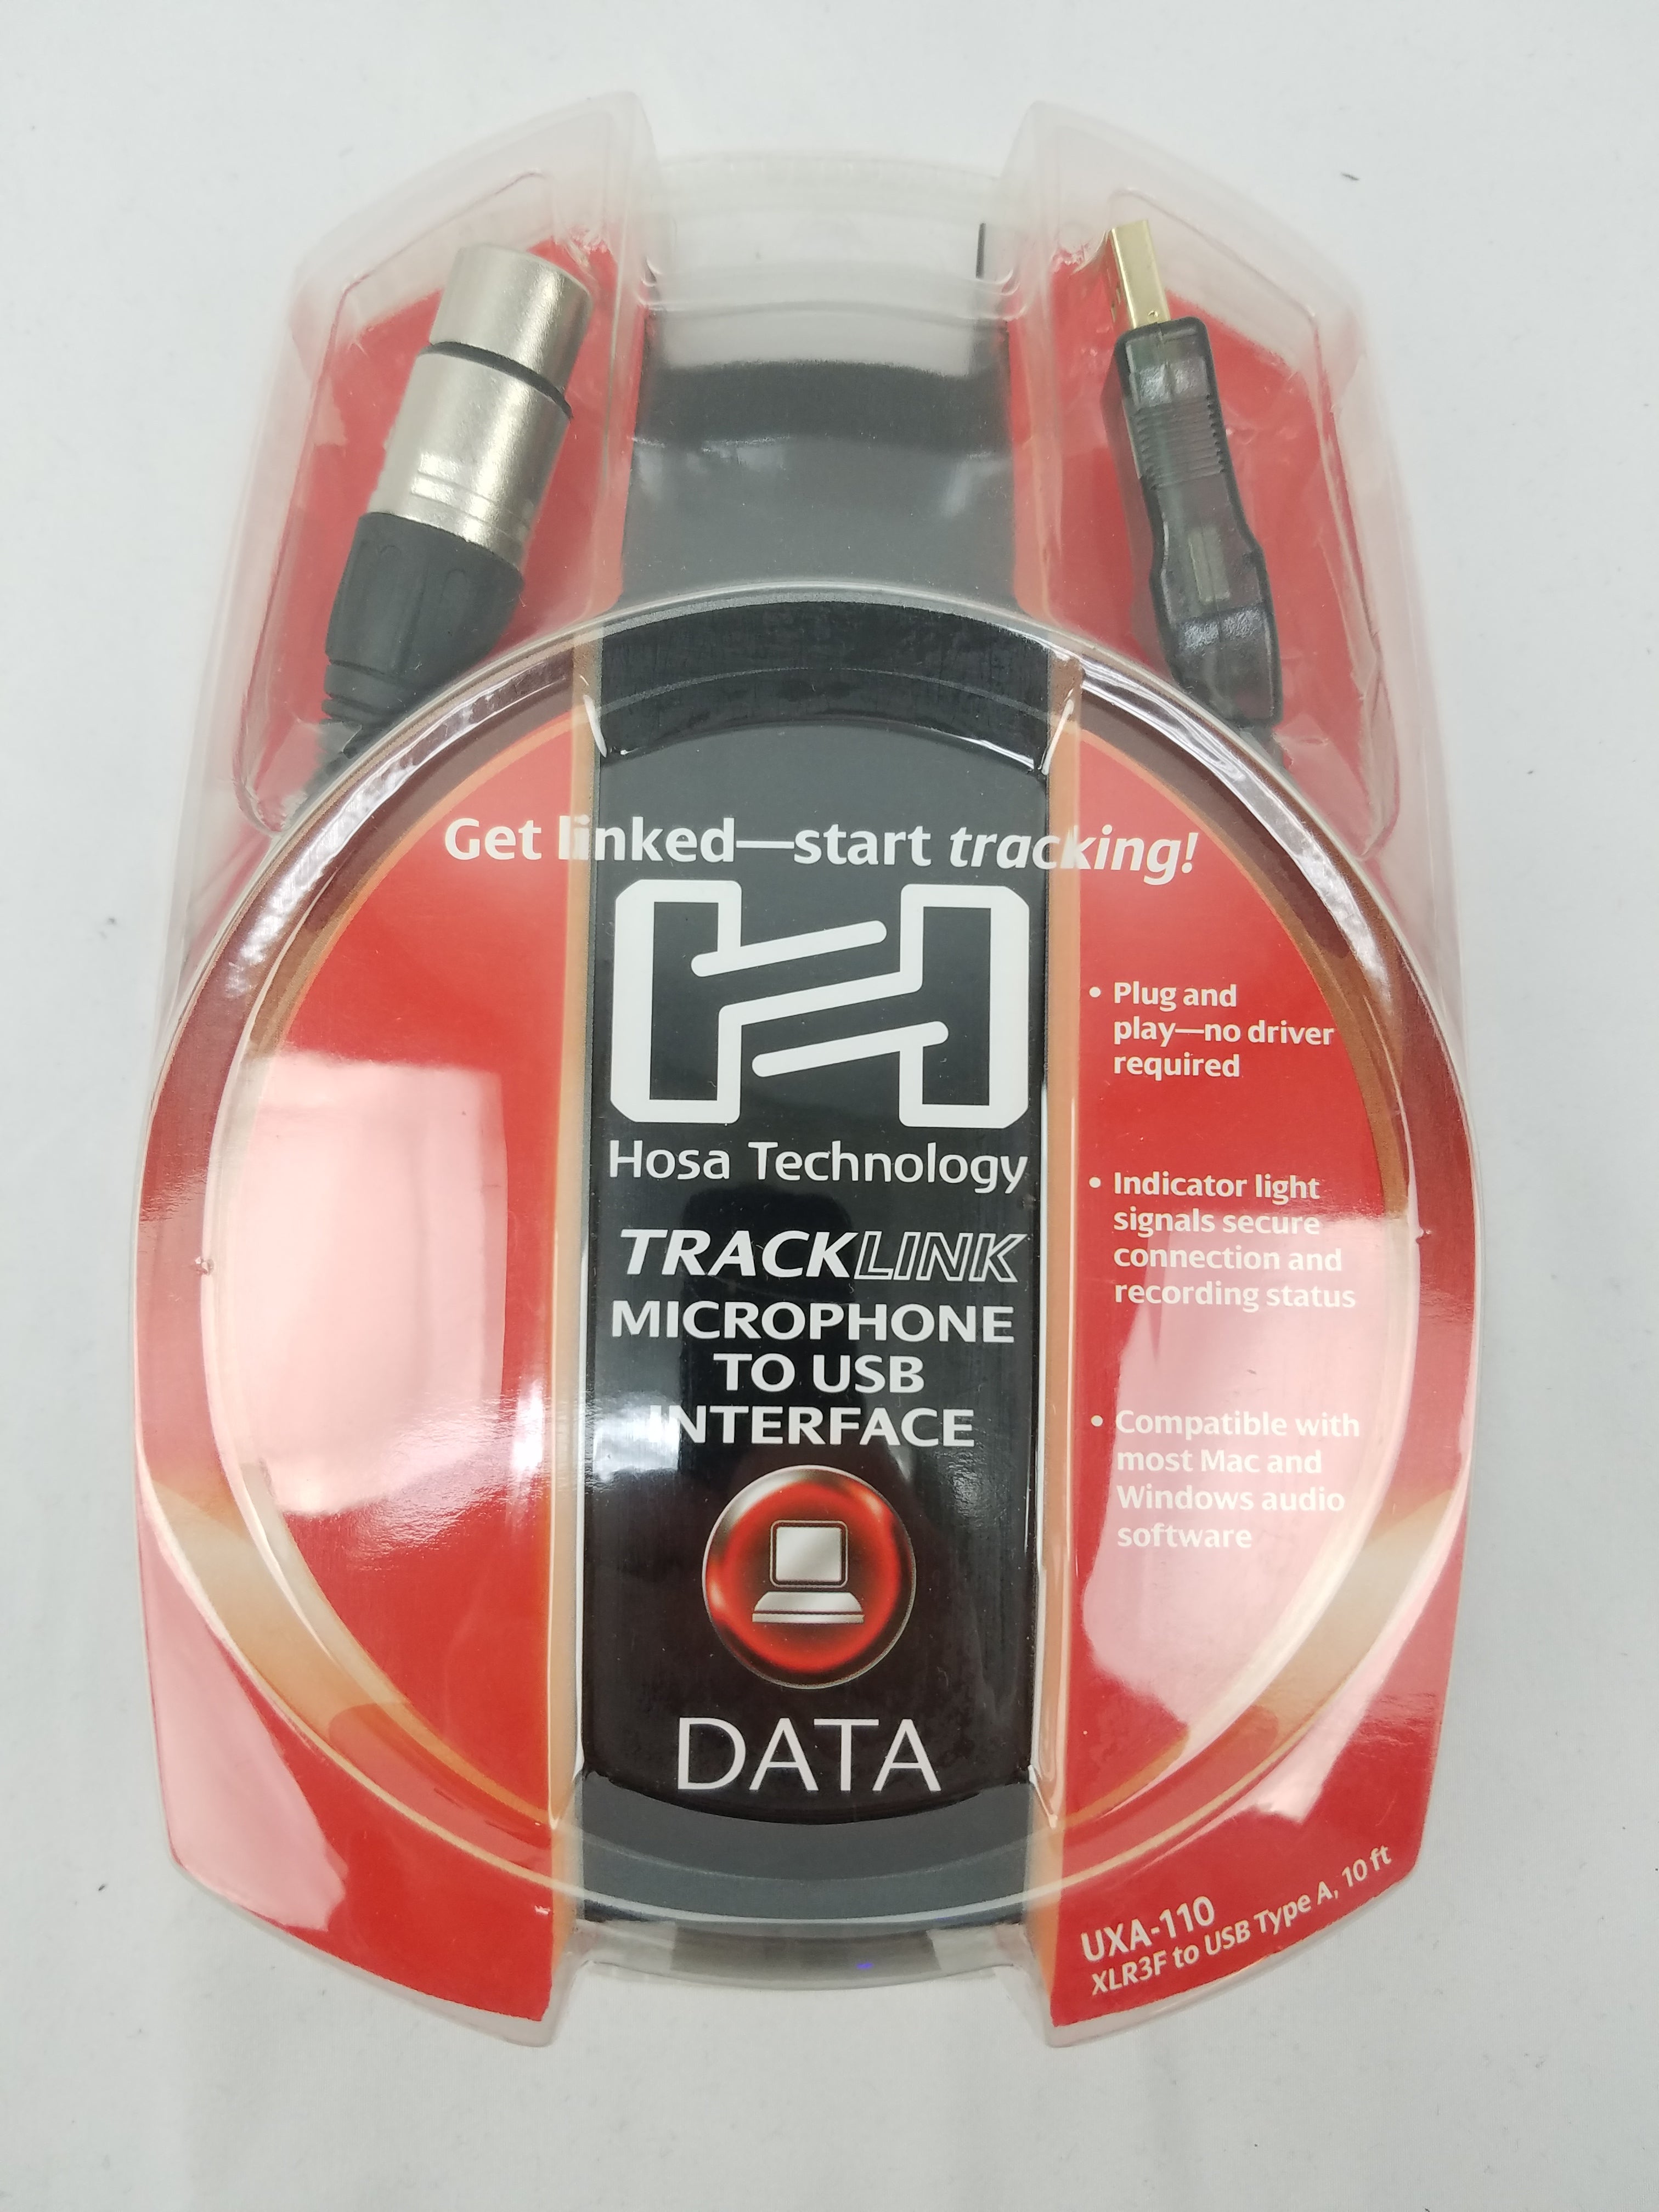

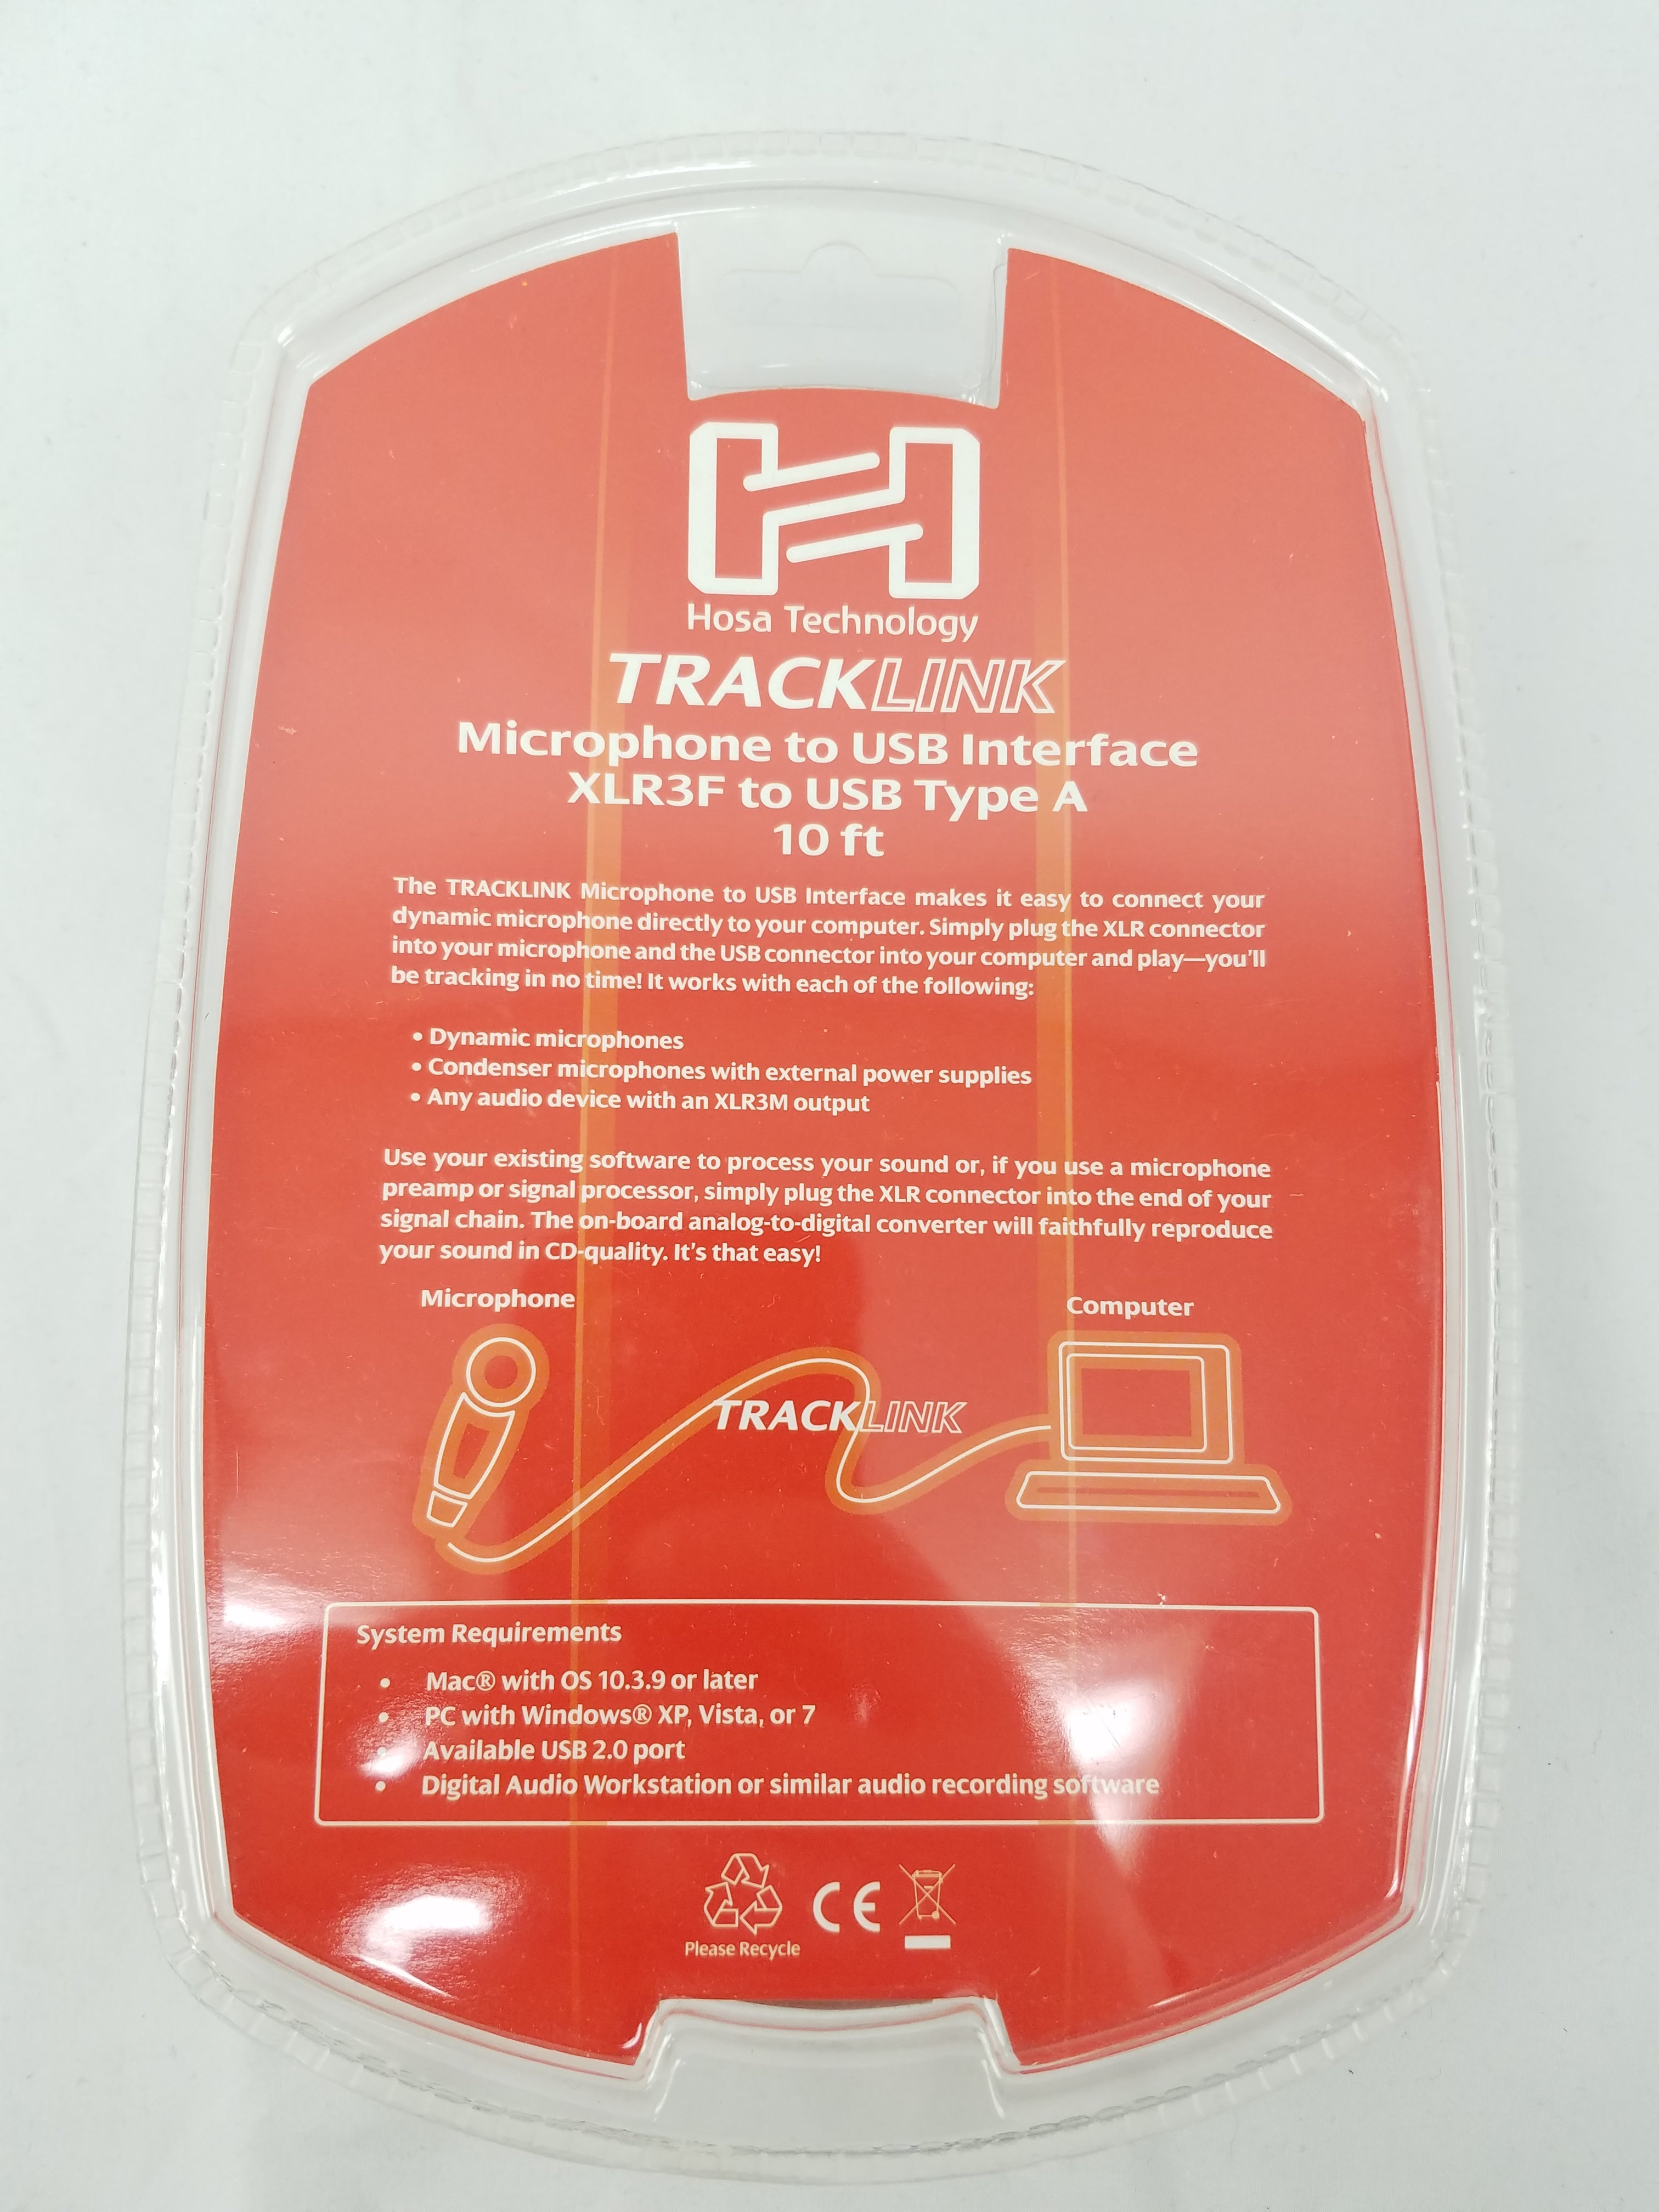


The TRACKLINK Microphone to USB Interface makes it easy to connect your dynamic microphone directly to your computer. Simply plug the XLR connector into your microphone and the USB connector into your computer and play—you’ll be tracking in no time! It works with each of the following:
• Dynamic microphones
• Condenser microphones with external power supplies
• Any audio device with an XLR3M output
Use your existing software to process your sound or, if you use a microphone preamp or signal processor, simply plug the XLR connector into the end of your signal chain. The on-board analog-to-digital converter will faithfully reproduce your sound in CD-quality. It’s that easy!
Connection Procedure
1.Plug the XLR connector into your microphone
2.Plug the USB connector into your PC
3.Follow the appropriate setup procedure below
Mac OS 10 Setup Procedure
1.Go to Apple Menu>System Preferences and click Sound
2.Click the “Input” tab
3.Select “USB PnP Sound Device”
4.Input level of your computer should reflect incoming signal*
5.Click the “Output” tab
6.Verify your normal output option is selected**
7.Close window
Windows 10 Setup Procedure
1.Allow Windows to install the driver before proceeding
2.Go to StartMenu > Windows System > Control Panel
3.In Category View, open Hardware & Sound
4.Open Sound
5.In “Playback” tab, select your desired playback option and click the “Set Default” button**
6.Click the “Recording” tab
7.Select “USB PnP Sound Device”and click the “Set Default” button
8.You can verify and adjust input levels by clicking the “Properties” button*
9.If you made any changes, click the “Apply” button
10.Click the “Okay” button
Windows 7 Setup Procedure
1.Allow Windows to install the driver before proceeding
2.Go to Start>Control Panel
3.In Category View, open Hardware & Sound
4.Open Sound
5.In “Playback” tab, select your desired playback option and click the “Set Default” button**
6.Click the “Recording” tab
7.Select “USB PnP Sound Device”and click the “Set Default” button
8.You can verify and adjust input levels by clicking the “Properties” button*
9.If you made any changes, click the “Apply” button
10.Click the “Okay” button
Windows Vista Setup Procedure
1.Allow Windows to install the driver before proceeding
2.Go to Start>Control Panel
3.In Classic View, open Sound
4.Click the “Recording”tab
5.Select “USB PnP Sound Device”and click the “Set Default” button*
6.Click the “Playback”tab
7.Select your desired playback optionand click the “Set Default” button**
8.If you made any changes, click the “Apply”button
9.Click the “Okay”button
*Note: Keep input level as low as possible to minimize electronic noise.
**Note: The TRACKLINK Microphone to USB Interface will appear as a playback option as well as a recording option. It cannot be used for playback, however.Your TRACKLINK Microphone to USB interface is now connected and you are ready to start tracking. Please consult your software’s instruction manual for additional setup requirements.
Functions and Indicators
•Solid LED indicatesproper connection
•Flashing LED indicates input is active
Warranty
All TRACKLINK products distributed by Hosa Technology, Inc. are warranted to be free of defects in materials and workmanship for one year. Please visit hosatech website for limitations.